
Invisible Genies: Simplified’s Smart Alignment and Grouping
The foundation of good and effective graphic design is not built on color schemes and images alone. The hidden genie that will transform your design and help to communicate your ideas better is Simplified’s Smart Alignment and Grouping features. Design alignment is simply the placing of text and other design elements on a page so that they line up.
The Smart Alignment function is essential to graphic design because it organizes your elements in a more coordinated view that highlights the important information.
The Grouping function allows easy management of elements in moving several components of your design as a single object on the canvas.
Together, they are the invisible brass tacks of your graphic design!
Smart Alignment
Simplified’s Smart Alignment allows you to click on text boxes, shapes, images, and icons, and choose where on your artboard you want to place the elements: top, left, center, middle, or right.
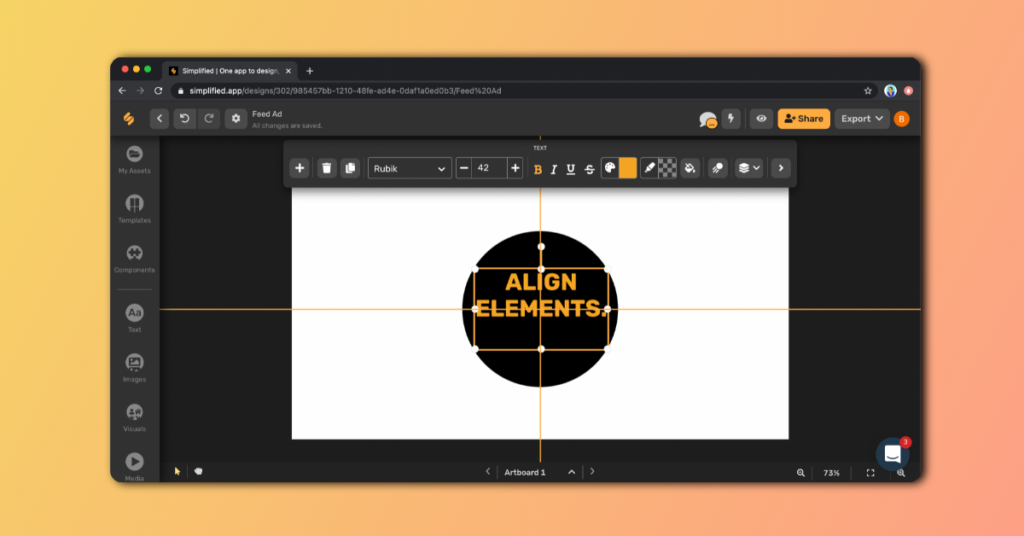
The proper alignment of elements in graphic design ensures greater visibility of marketing content. Smart Alignment is helpful in determining where a text box will look the best in relation to your image, and where the elements can potentially be placed for maximum readability for your audience.
Related: How to Schedule Posts on Facebook Groups (and More!)
3 Ways To Use Simplified’s Smart Alignment
METHOD 1
1: Select one element, or two or more at a time, that you want to align.
2: Click on the “Layers” icon from the top menu – the one that looks a stack of papers!
3: Choose your preferred alignment from the options.
METHOD 2
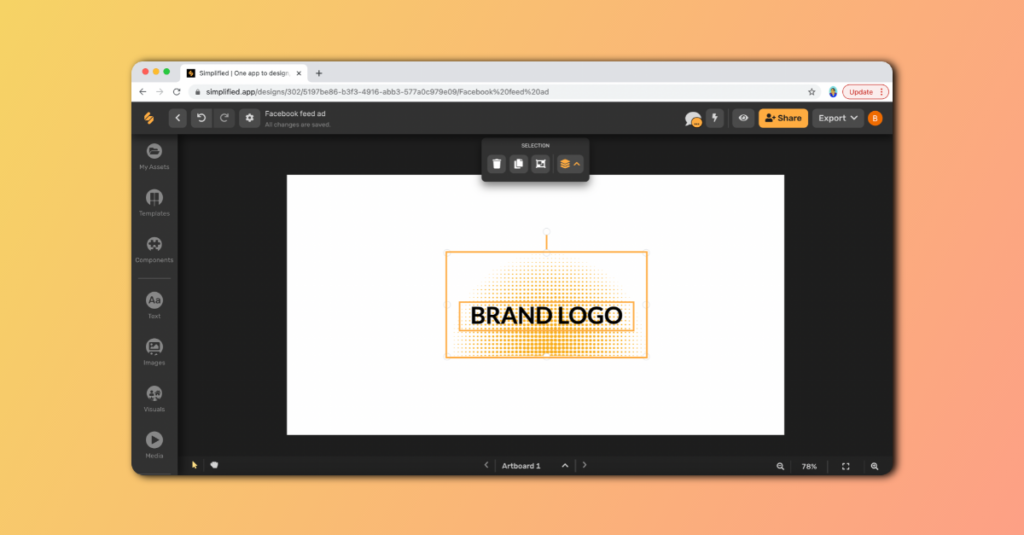
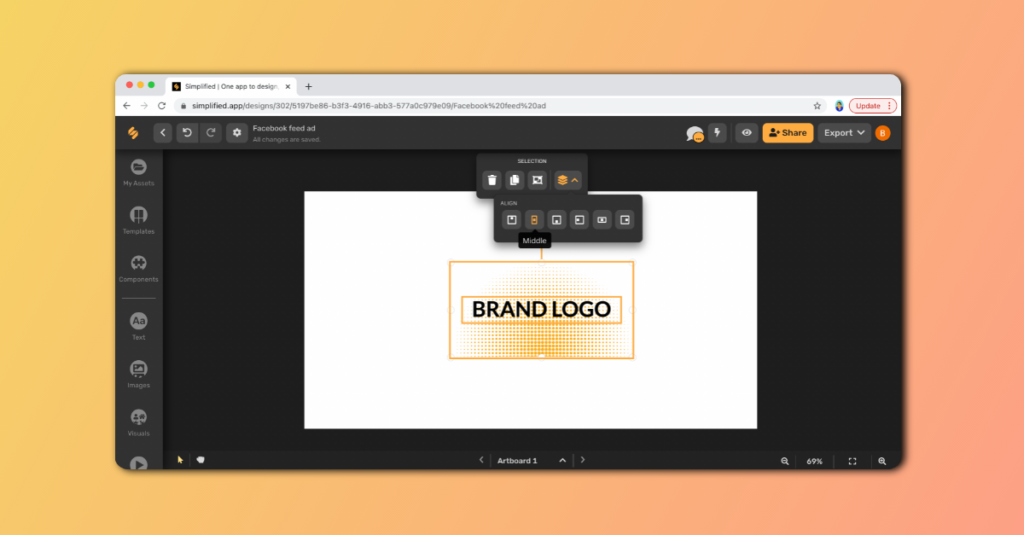
1: Click on the element (text box, shape, icon etc.) you want to align.
2: From the top menu, click on “More”.
3: Click on the “Arrange” tab from the right sidebar for a drop down menu.
4: Under “ALIGN” choose your preferred alignment from the options!

Related: Simplified’s smart alignment & grouping
METHOD 3
1: Click on the element (text box, shape, icon etc.) you want to align.
2: Right click on the selected element.
3: From the drop down menu, choose “Align” and select your alignment!
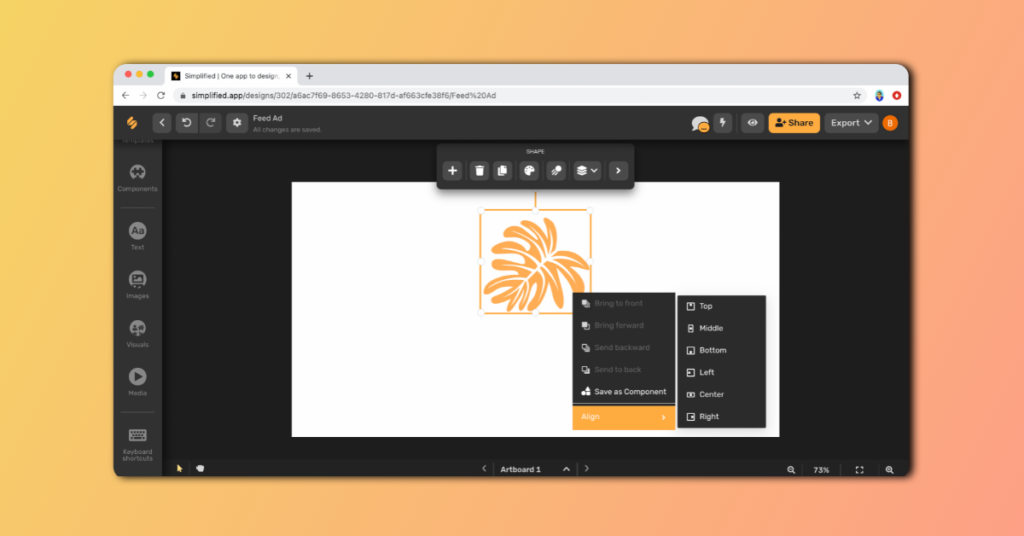
TIP: Have a most used shape or icon? Right-click on the shape (like in the graphic above) and choose “Save as Component.”
Grouping
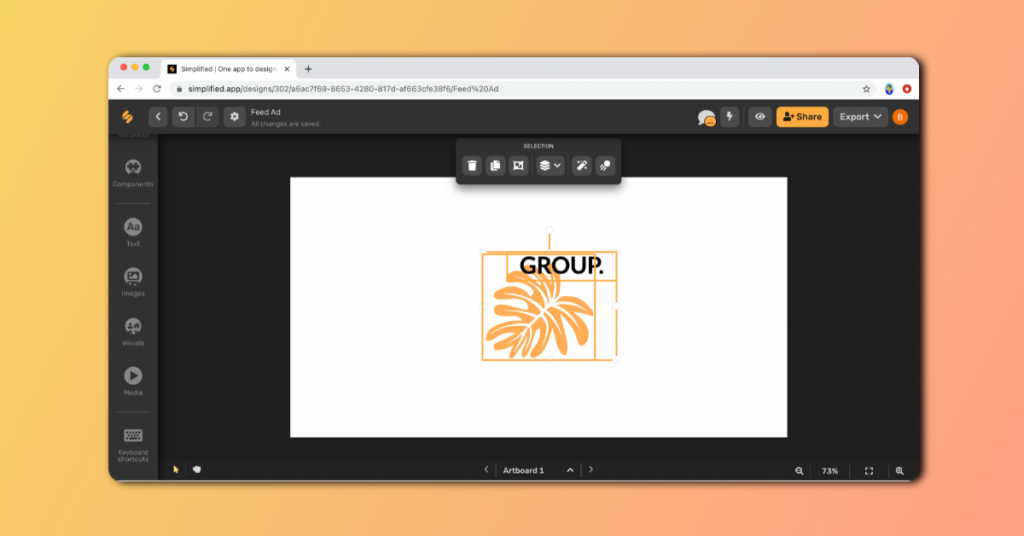
The Grouping function on Simplified makes your work as a designer easier and faster. With the grouping command, elements in a design are essentially locked as one object so that they move together instead of repeatedly dragging all elements one by one across your artboard.
How To Use Simplified’s Grouping Function
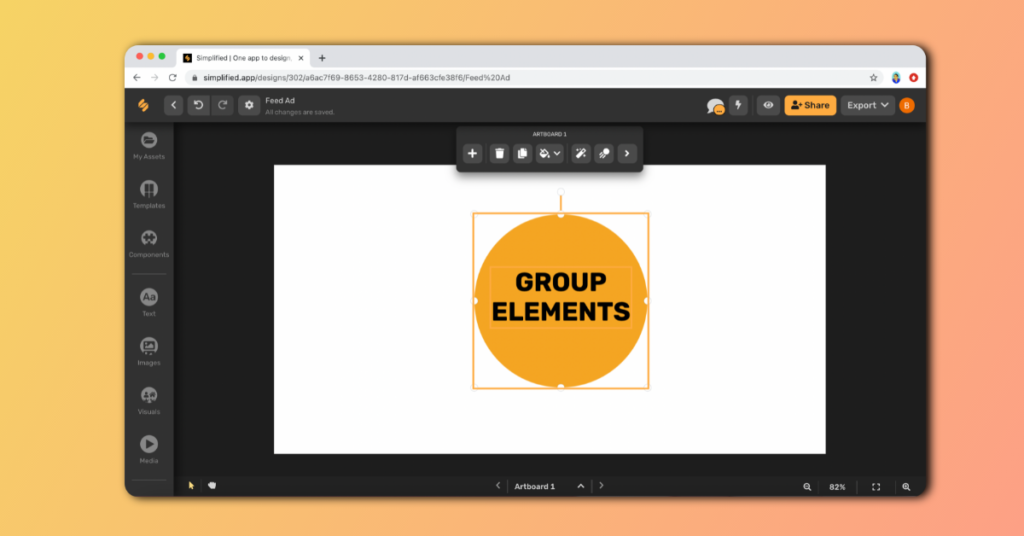
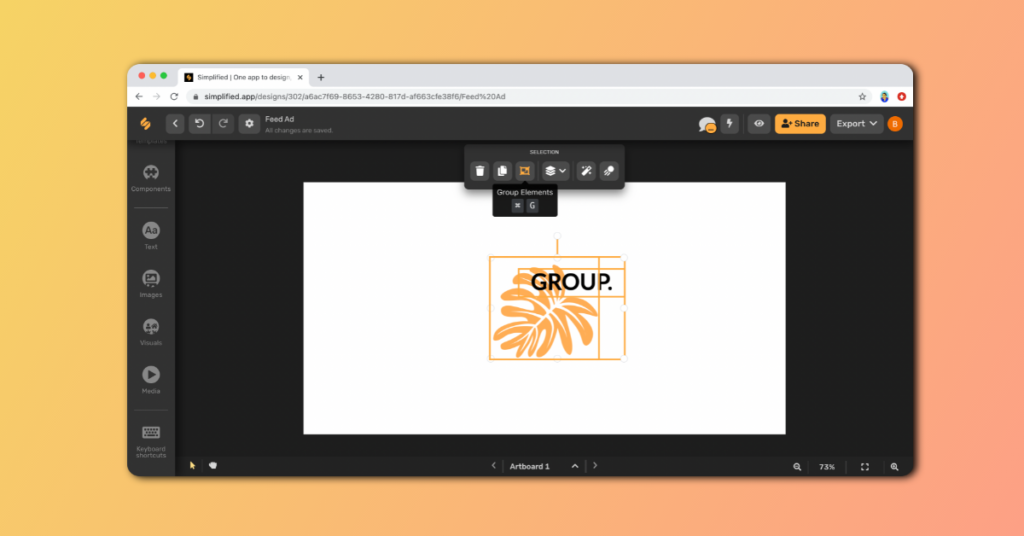
Step 1: Drag your cursor across the elements you want to group together.
Step 2: From the “SELECTION” top menu, click on the third icon from the left, “Group Elements”.
That’s all! Now you can move the text and shape as one object across the artboard!
TIP: For Mac users, the Group Elements command is ⌘G.
The Takeaway
Simplified’s Smart Alignment and Grouping Functions are important for beginners in graphic design as well as seasoned professionals. Start designing more readable graphics that create clear visual connections for your audience with these simple tools!


![7 Best AI Image Restoration Tools to Try in 2024 [Free & Paid]](https://siteimages.simplified.com/blog/Best-Free-Paid-AI-Image-Restoration-Tools-01.png?auto=compress&fit=crop&fm=png&h=400&w=400 "7 Best AI Image Restoration Tools to Try in 2024 [Free & Paid]")
![How to Use Photoshop AI Generative Fill Feature [2024]](https://siteimages.simplified.com/blog/How-to-Use-Photoshop-AI-Generative-Fill-01-1.png?auto=compress&fit=crop&fm=png&h=400&w=400 "How to Use Photoshop AI Generative Fill Feature [2024]")
![20 Podcast Thumbnail Ideas to Boost Your Show’s Visual Appeal + Best Practices [2024]](https://siteimages.simplified.com/blog/Podcast-Thumbnail-Ideas-to-Boost-Your-Show-02-1.png?auto=compress&fit=crop&fm=png&h=400&w=400 "20 Podcast Thumbnail Ideas to Boost Your Show’s Visual Appeal + Best Practices [2024]")


